(Continued from Part Seven)
I got to visit another ancestral house in Taal – the Agoncillo House.
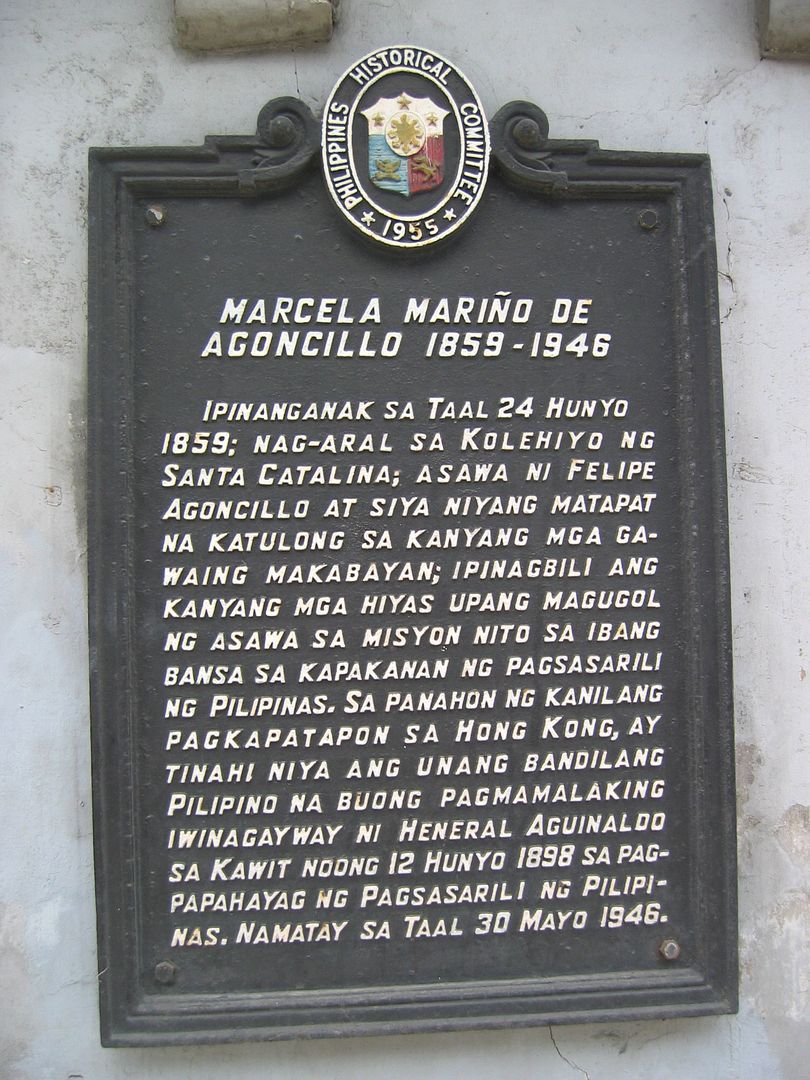
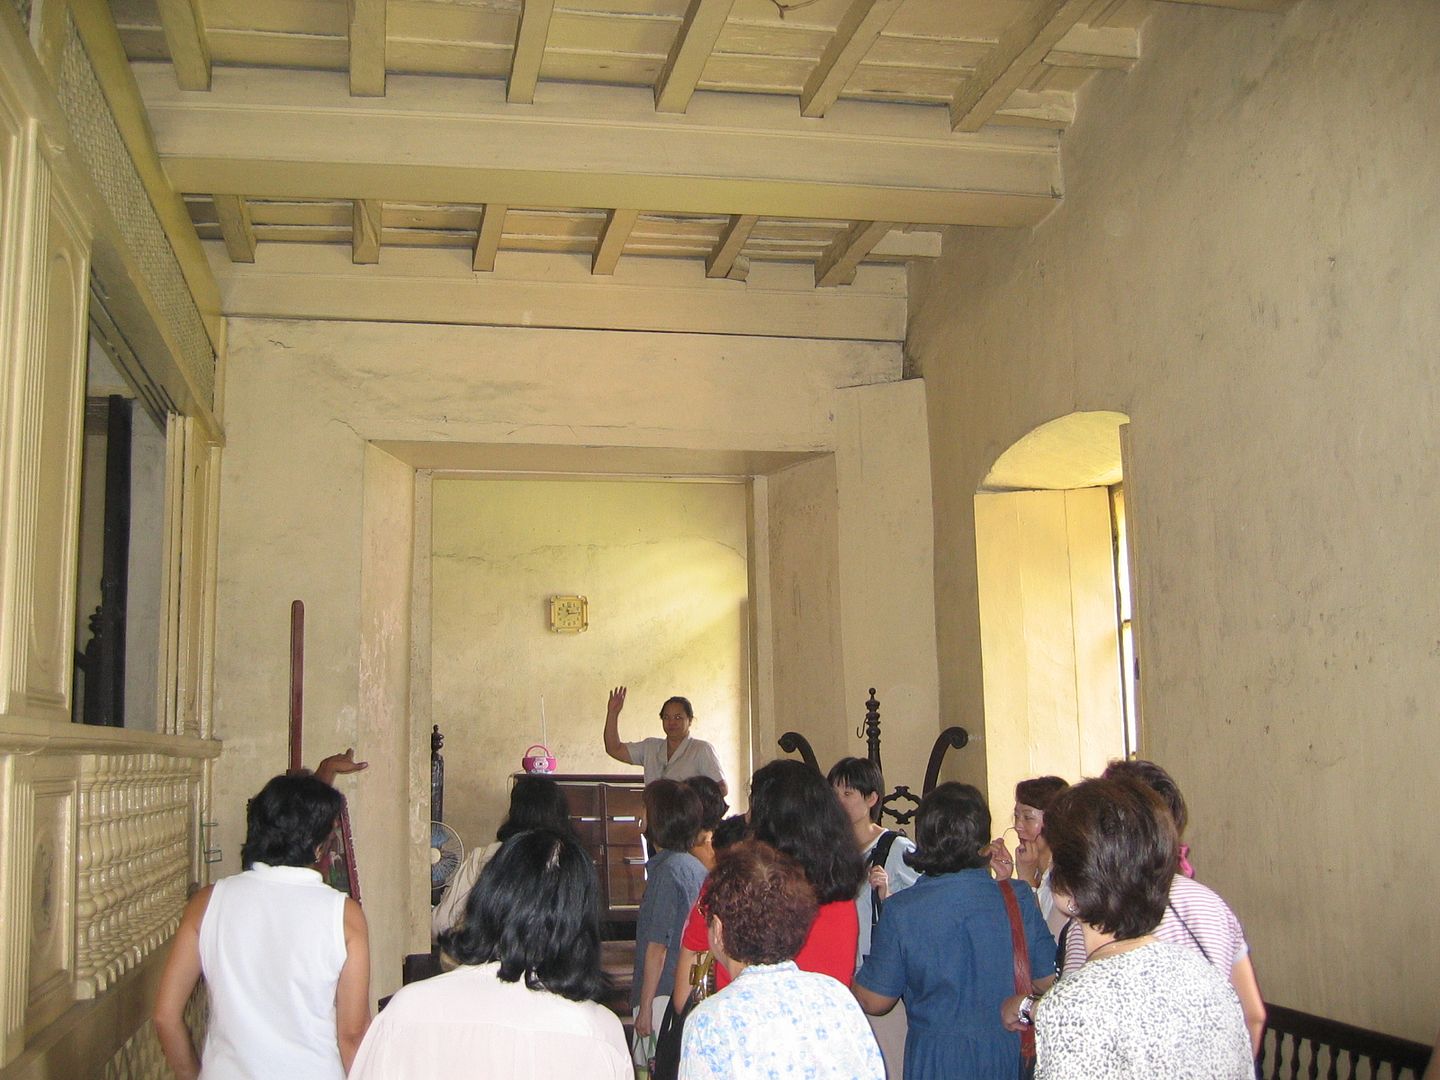
Like the Apacible House, this too was managed by the National Historical Institute, which unfortunately meant that photography was also forbidden within. Therefore all I got to photograph was the marker shown above, and the ground floor vestibule with a tour group waiting to ascend to the main floor.
Hopefully I can visit this (and the Apacible House) again, without the photography prohibition in force.
- - - - - -
Our final stop on this Taal tour is the famous Shrine of Our Lady of Caysasay.

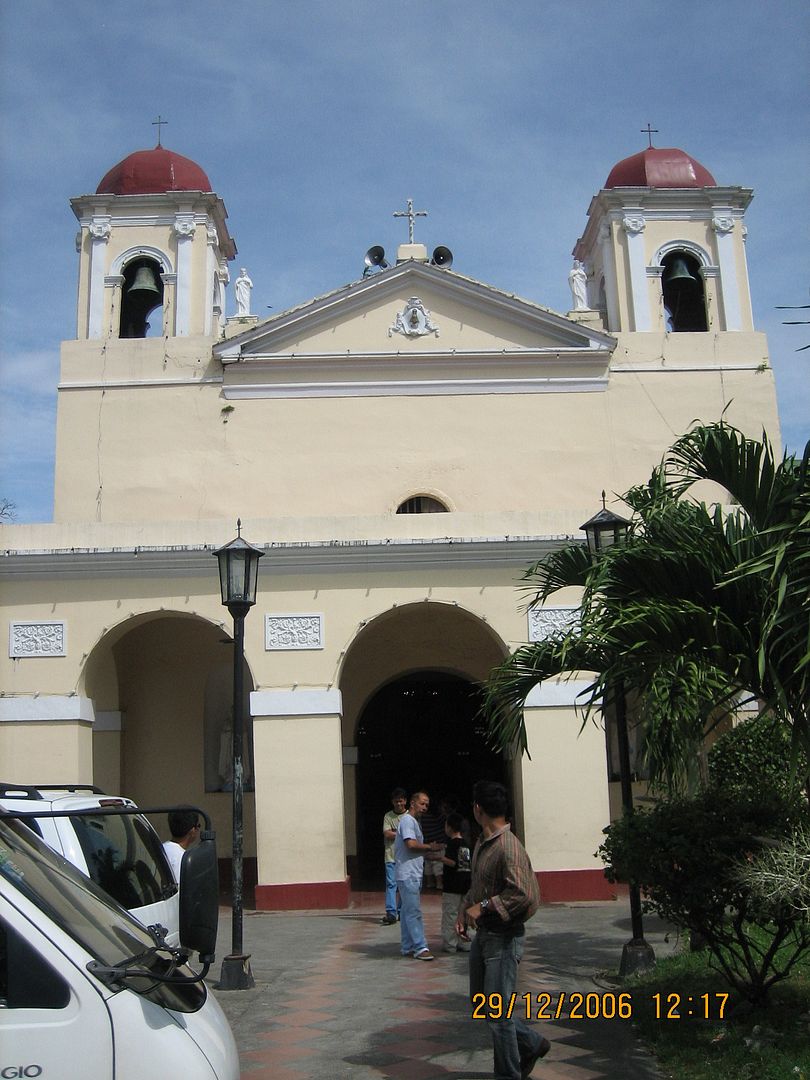
The church of the Shrine itself is old, probably not too different from the original structure, made of coral stone, that was completed in 1640. It probably continued to be enlarged and refurbished by devotees, especially in the second half of the 18th century, or shortly after the violent and lengthy eruption of Taal Volcano in 1754.
The resulting lava flows from that eruption caused the water level in Taal Lake to rise so much that it submerged the Batangas towns around the lakeside. One of these was the old town of Taal, whose residents sought refuge at the Shrine of Our Lady of Caysasay, then already a well-known pilgrimage site, and far away from the volcano and the lake. Taal town thus got relocated to its present location, right next to the Shrine and on a hillside overlooking Balayan Bay.
The resulting lava flows from that eruption caused the water level in Taal Lake to rise so much that it submerged the Batangas towns around the lakeside. One of these was the old town of Taal, whose residents sought refuge at the Shrine of Our Lady of Caysasay, then already a well-known pilgrimage site, and far away from the volcano and the lake. Taal town thus got relocated to its present location, right next to the Shrine and on a hillside overlooking Balayan Bay.
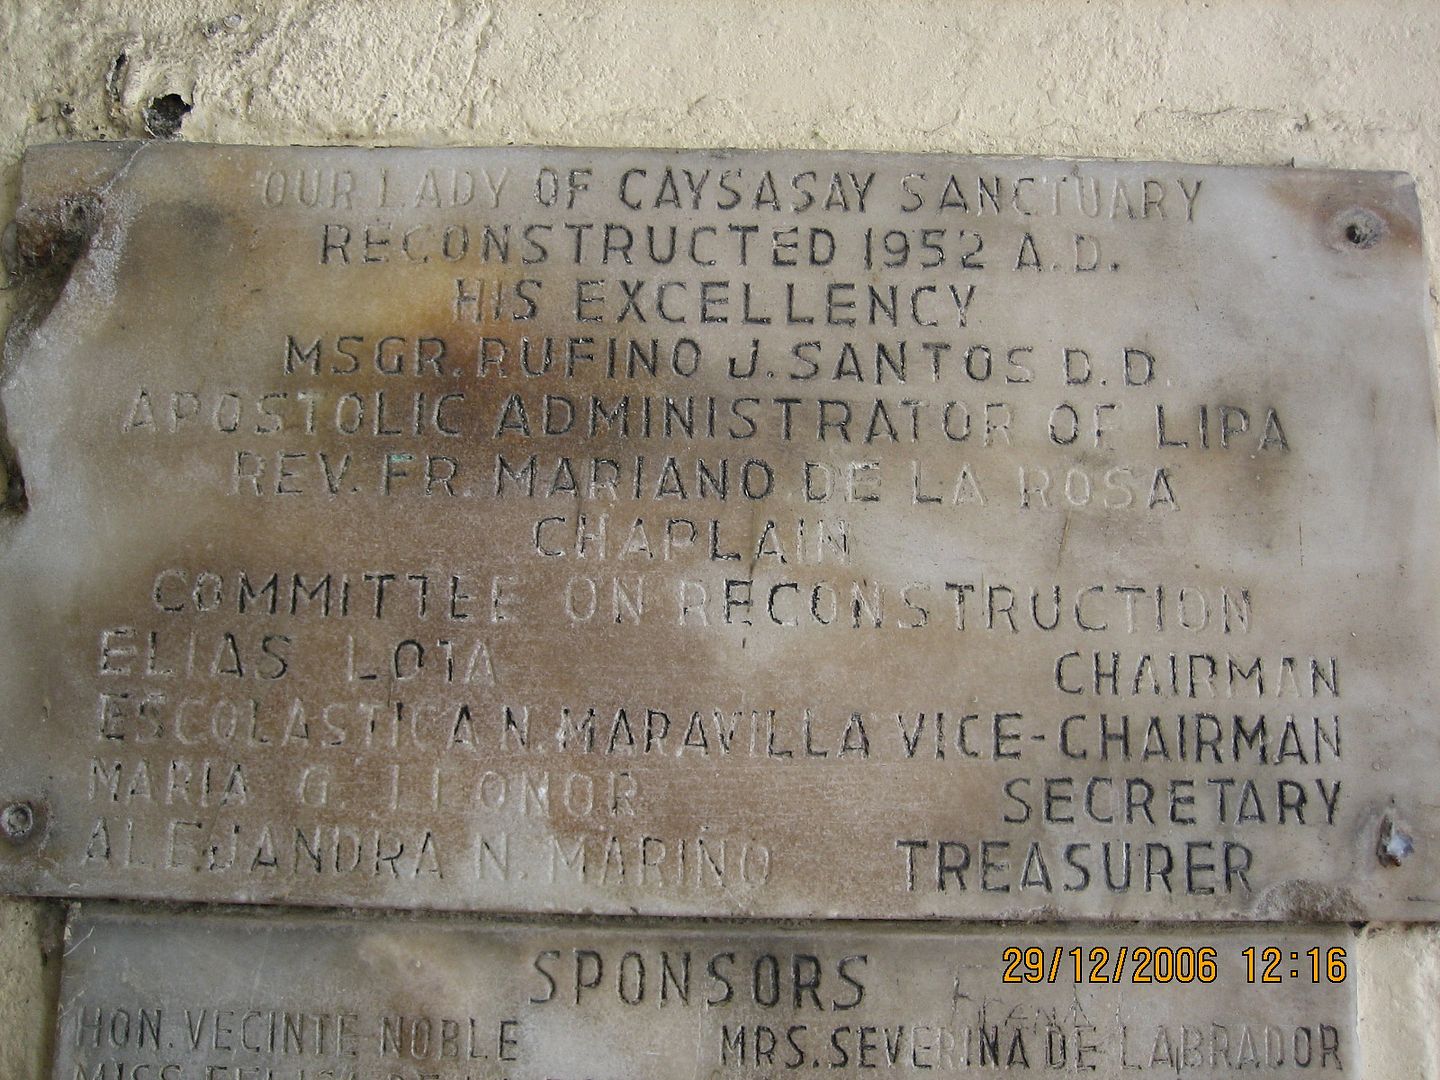
The structure was reconstructed and renovated in 1952, as indicated on this marble marker near the main entrance,
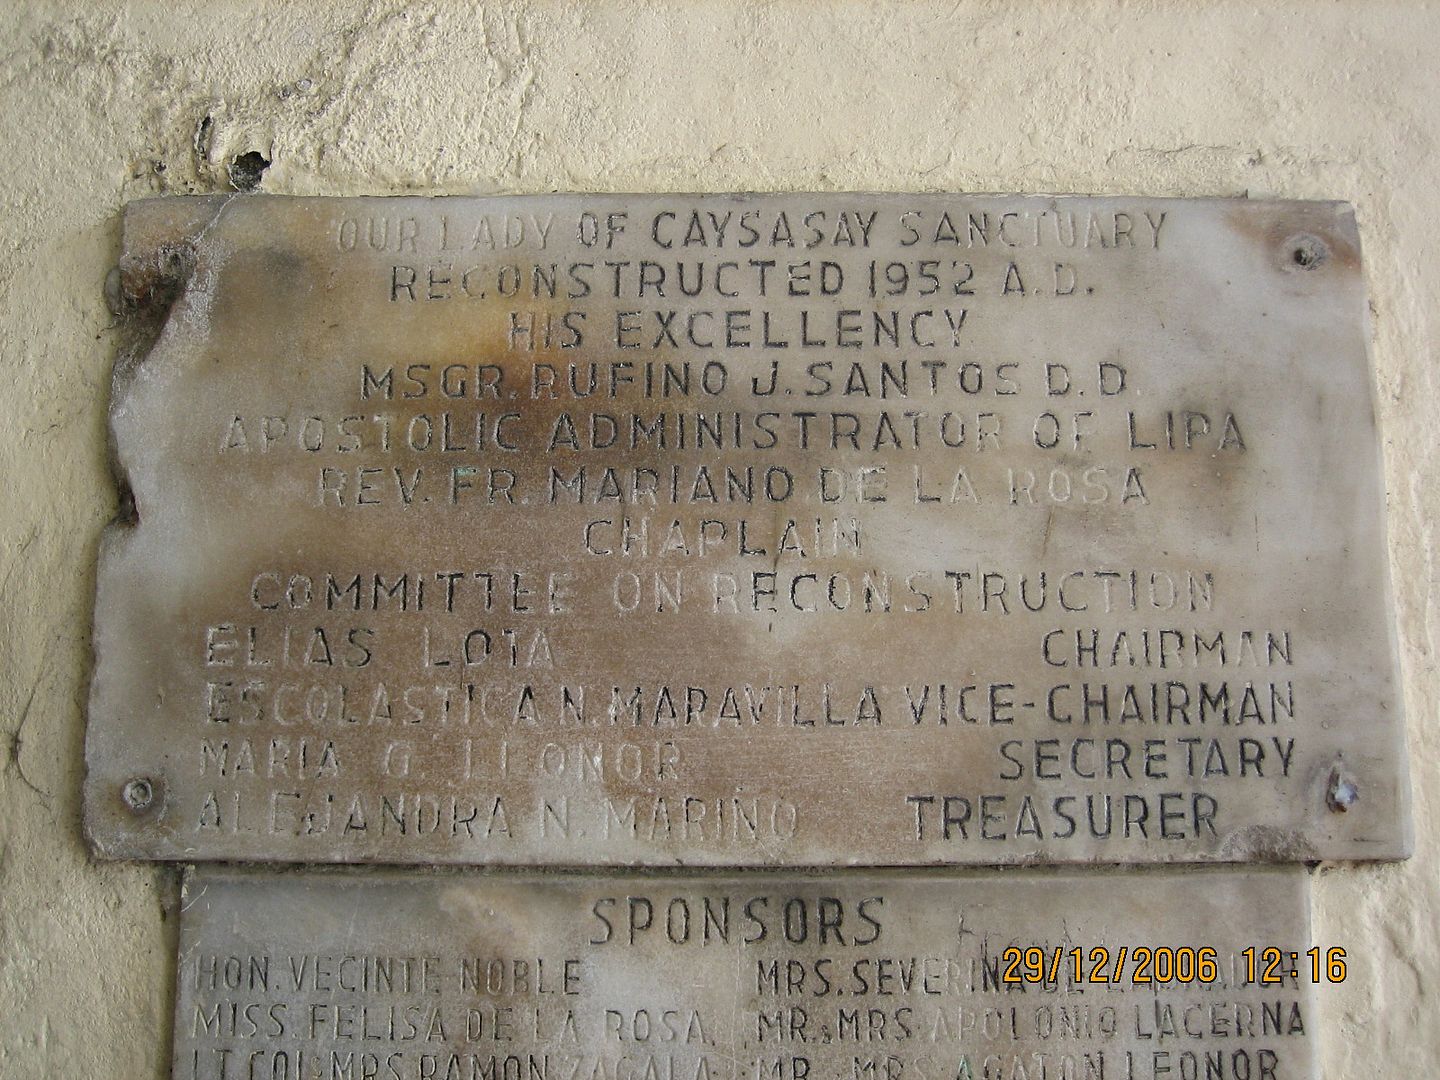

under the supervision of Monsignor Rufino Santos when he was Apostolic Administrator of Lipa; he later became the first Cardinal-Archbishop of Manila (and of the Philippines).
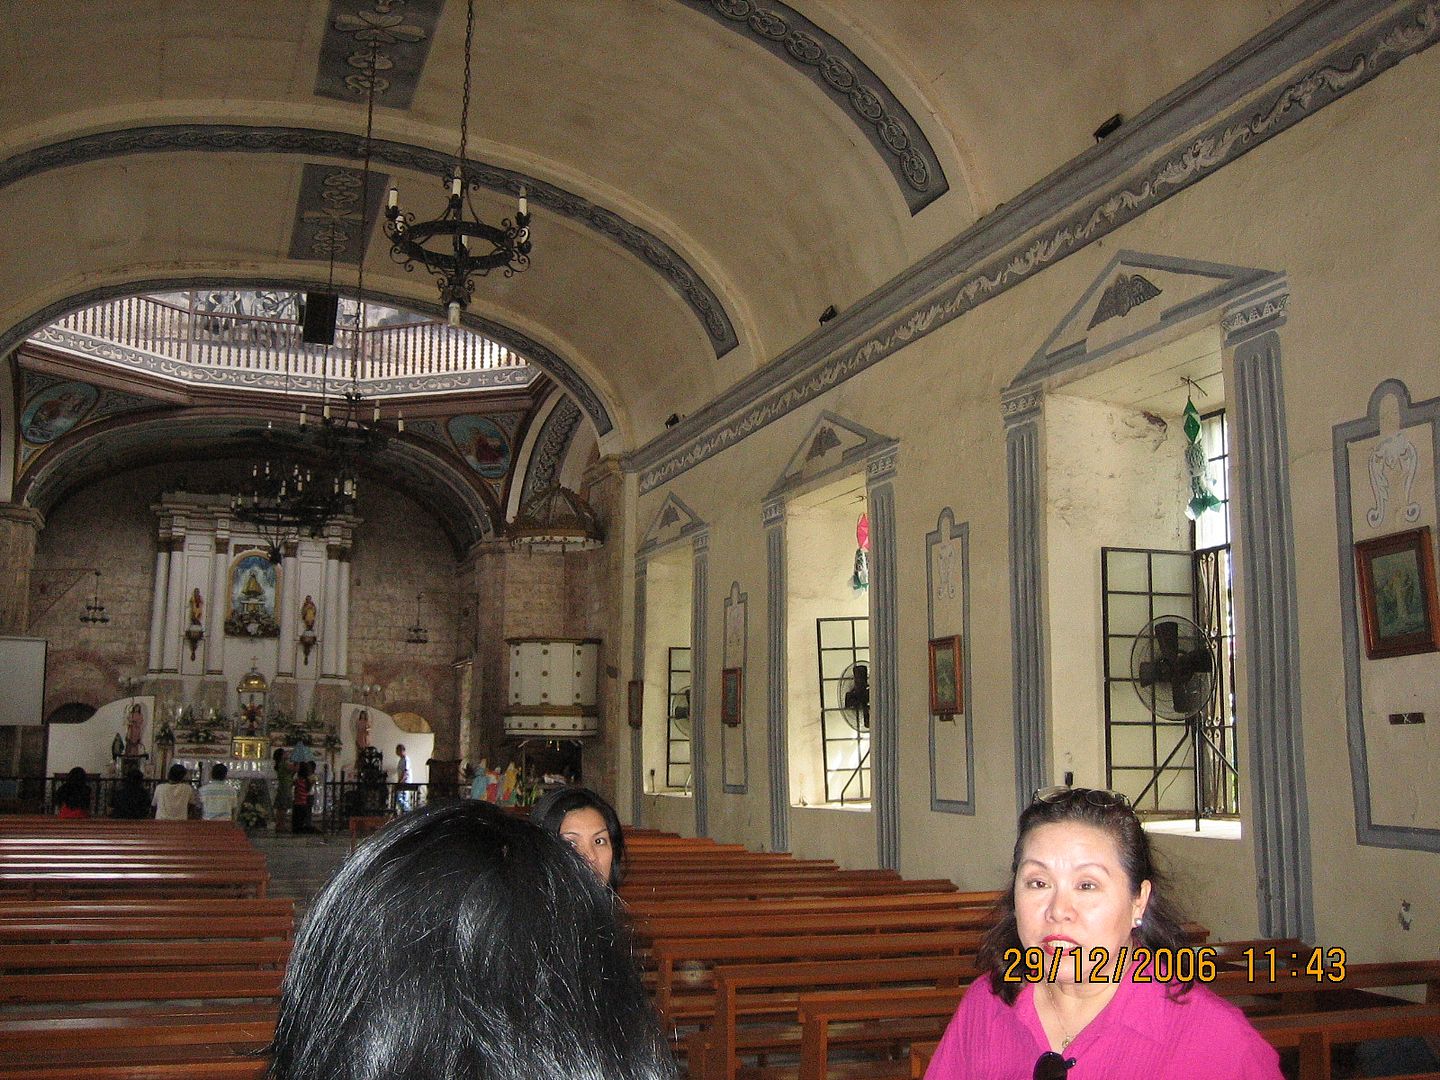
The interior of this church is relatively straightforward

with painted decorations simulating classical details on the walls and on the arched ceiling,

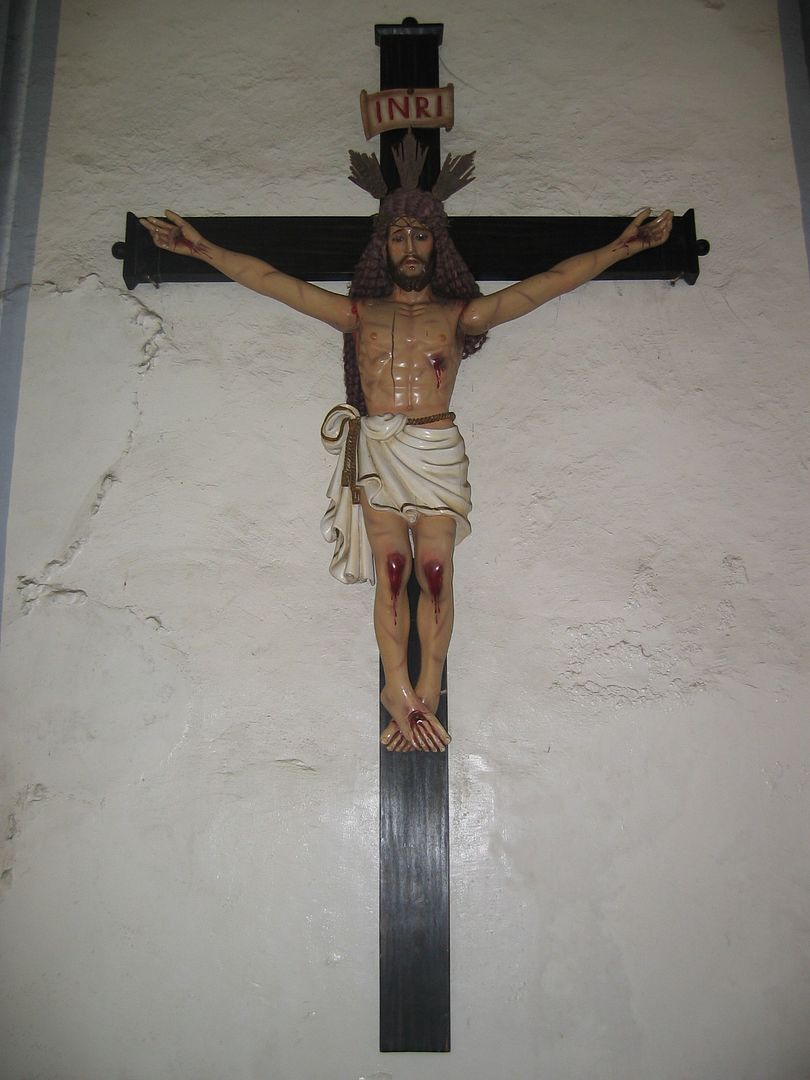
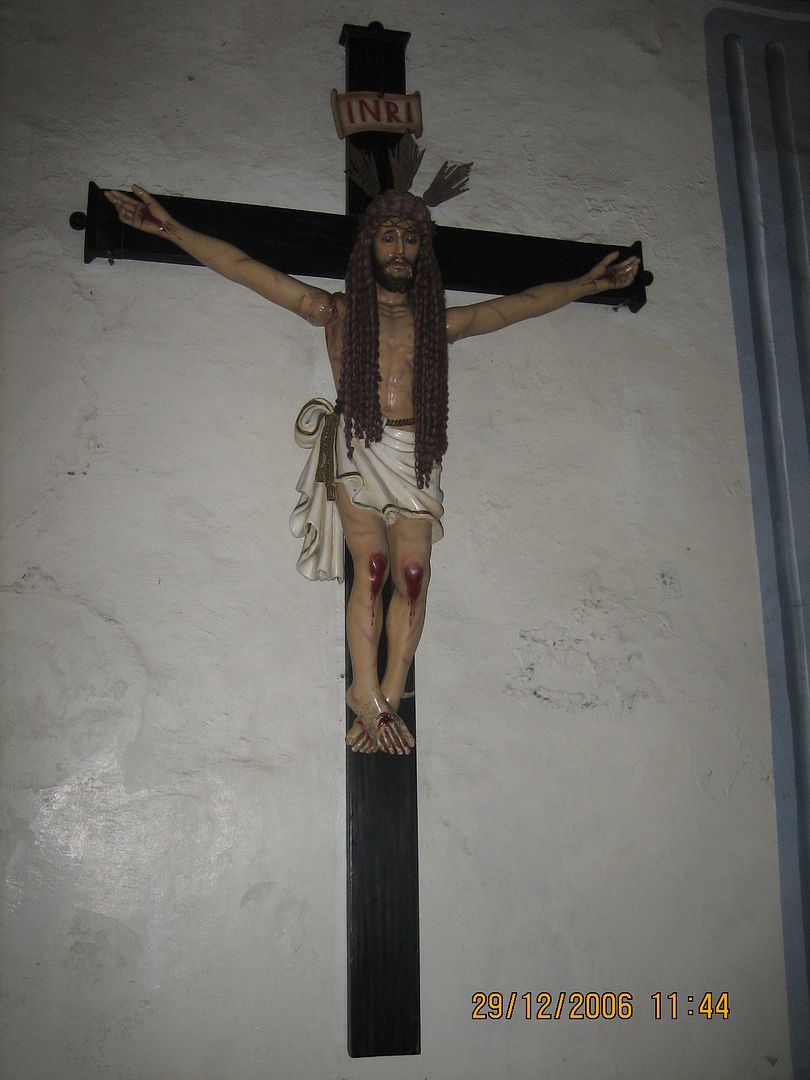
an antique-looking folk-style bewigged crucifix on the left wall,
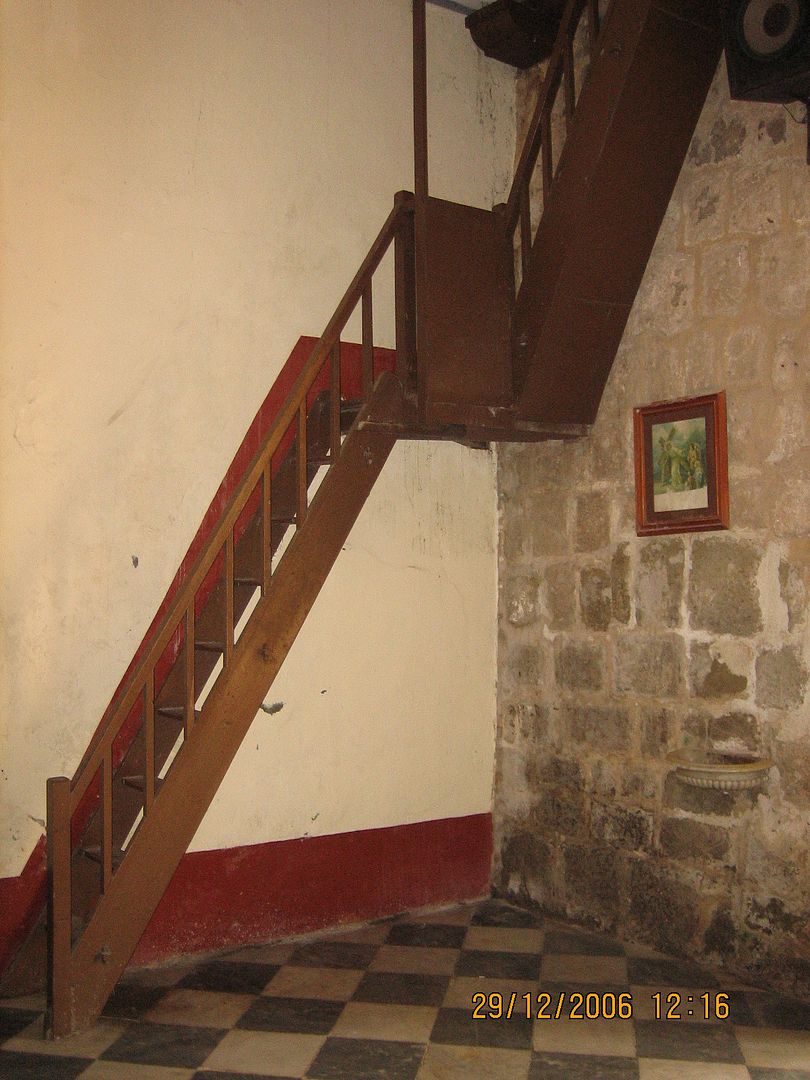
and a choir loft above the main entrance,
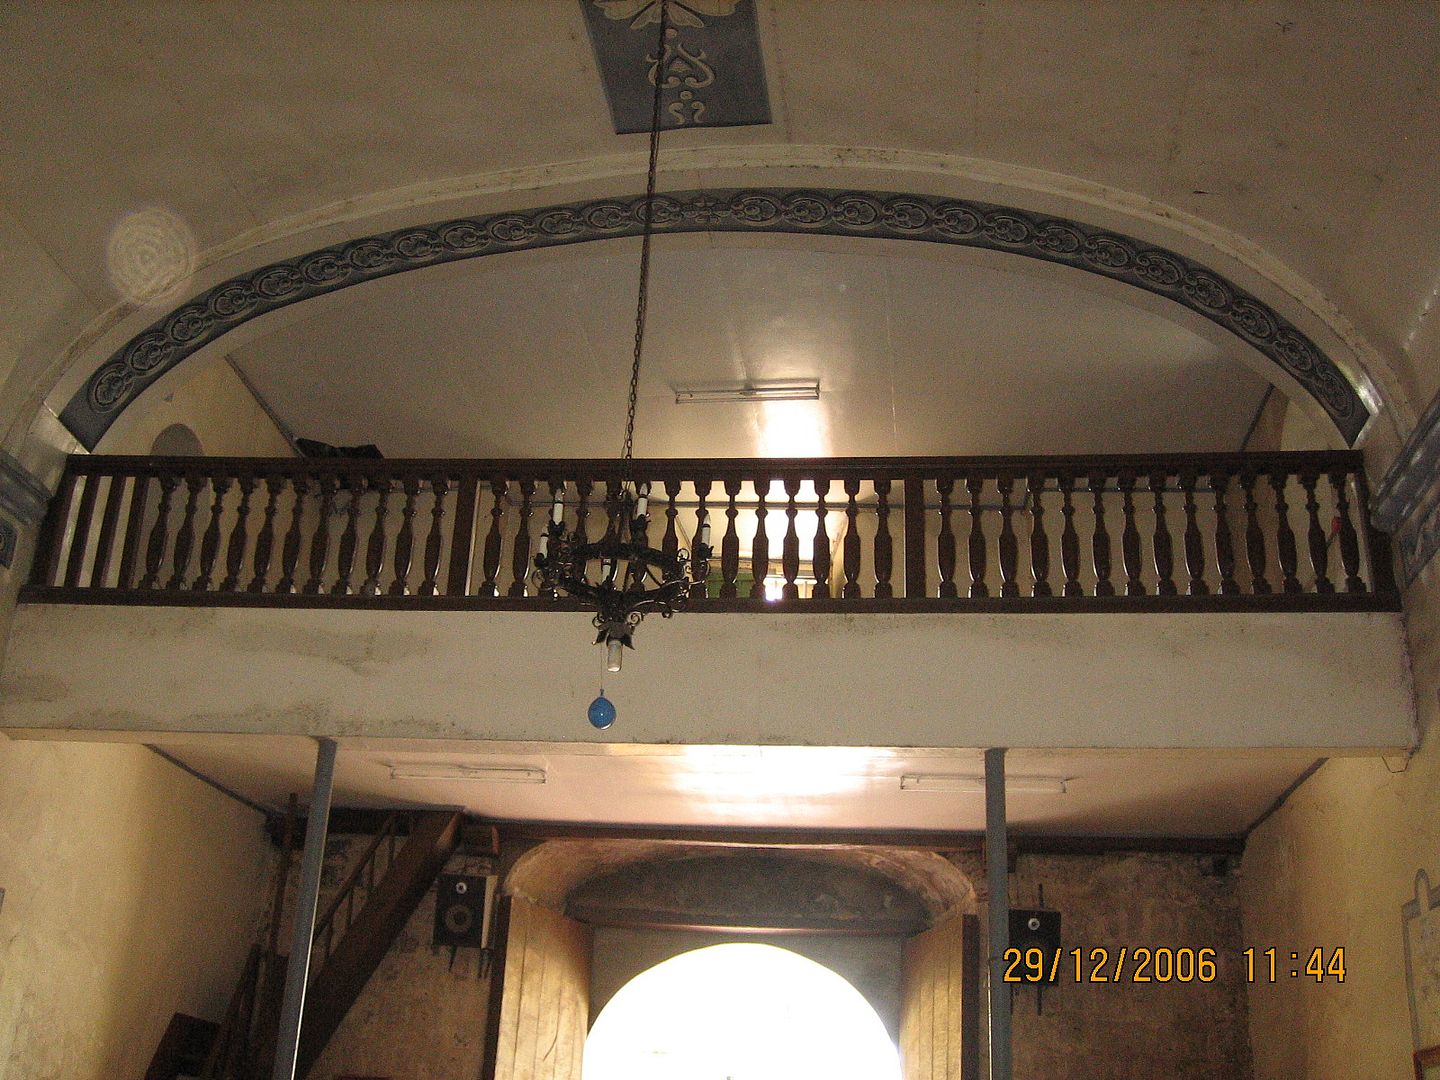
that is accessed via this steep staircase.
The ceiling above the altar features an internal balustraded dome, very similar to the much larger one inside in Taal Basilica,

which not only admits more natural light into the interior

but is also generously decorated with religious-themed paintings on several of its surfaces.

Unlike the nave’s that are plastered and painted, the altar area’s natural stone walls are undressed, to good effect.

The brickwork that makes up the arches is also exposed,
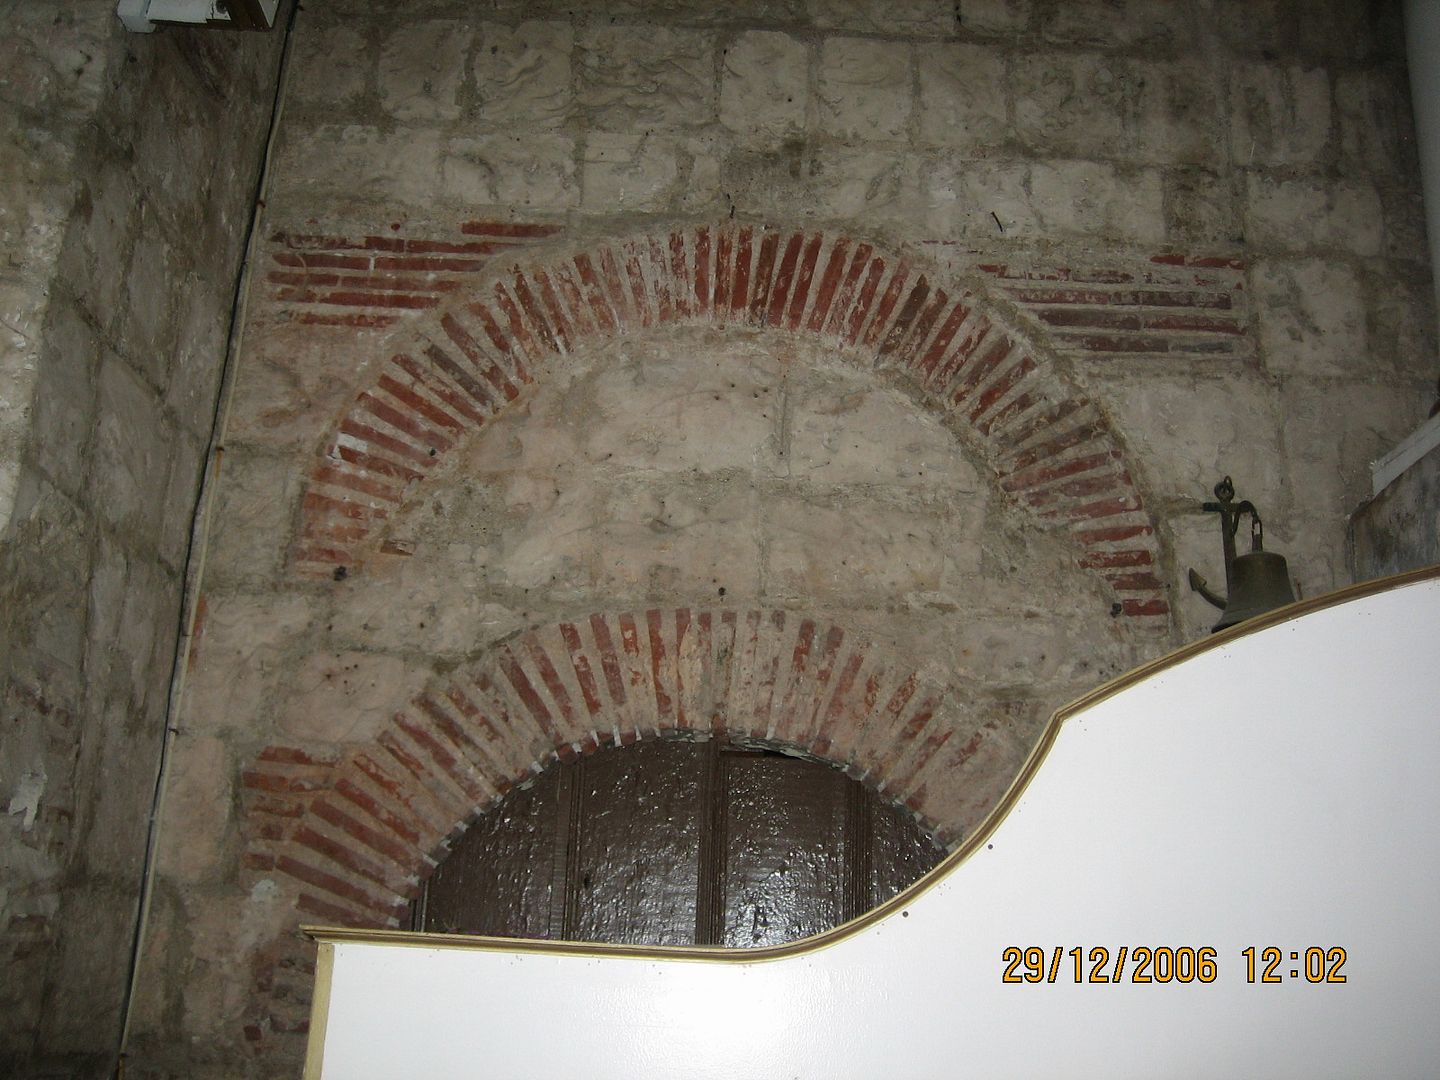
and this wood door and the wooden doorway lintel complement the stonework well.

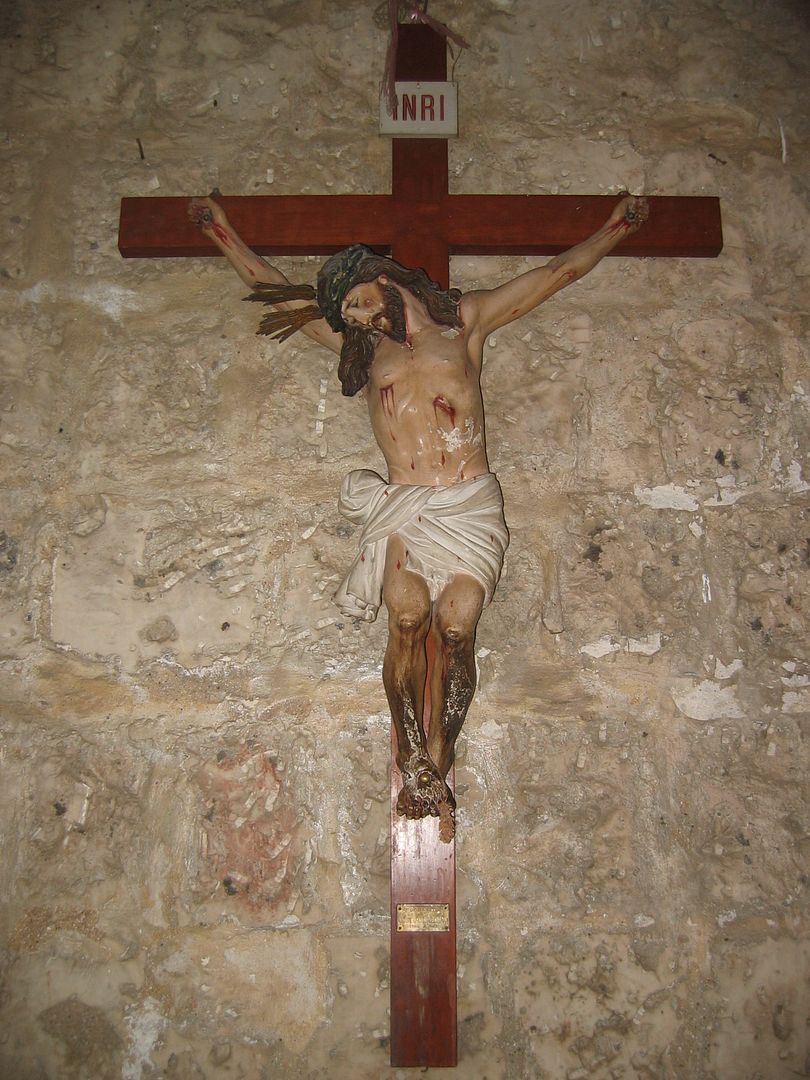
The natural stone walls also set off this classical-style crucifix, with legs blackened by a lengthy period of devotional rubbing, no doubt.
The object of this shrine’s devotion is an ancient image of the Blessed Virgin Mary, which, according to tradition, was fished out of the nearby river by a fisherman named Juan Maningcad in 1603.

It is tiny – just about six inches tall – and is mounted on a hammered metal base to give it more height.

Underneath the cone-shaped garments, and although it is rarely exposed in this manner, the wooden image itself is fully-carved, with garments, a flowing cape, and a crescent moon underfoot, with traces of now-faded polychrome paint.
In the intervening centuries, devotees have given it numerous sets of outer garments, gold-plated crowns and aureoles, and a fiber wig, and that is how she may be seen today.

Numerous devotees, young and old, come to venerate the image,
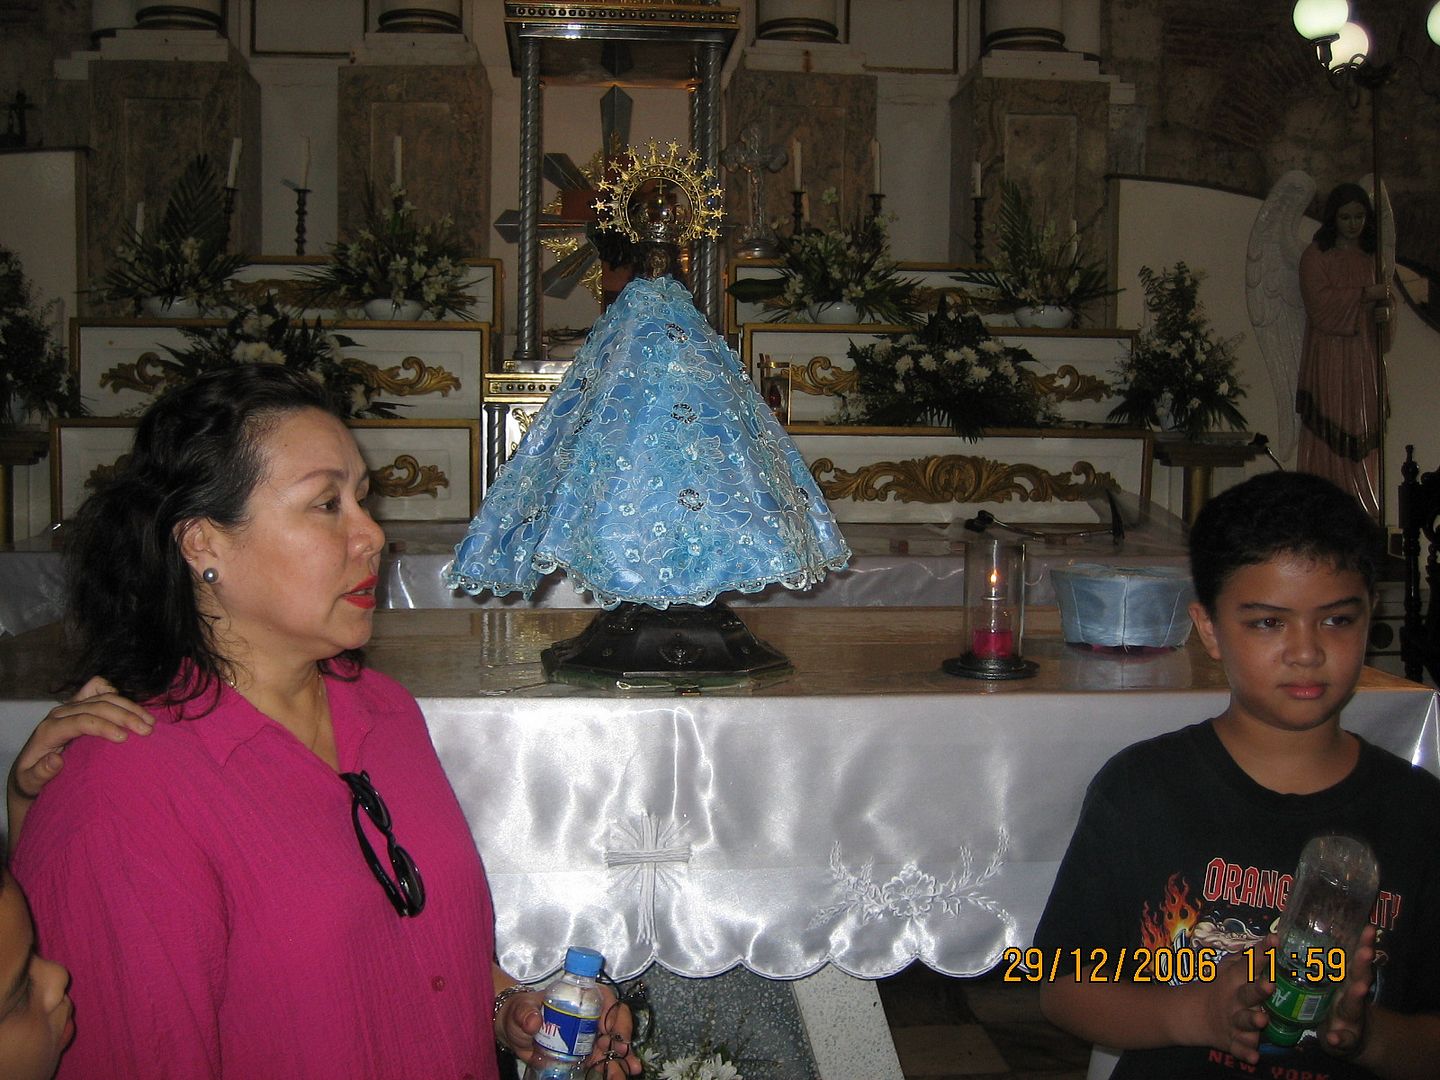
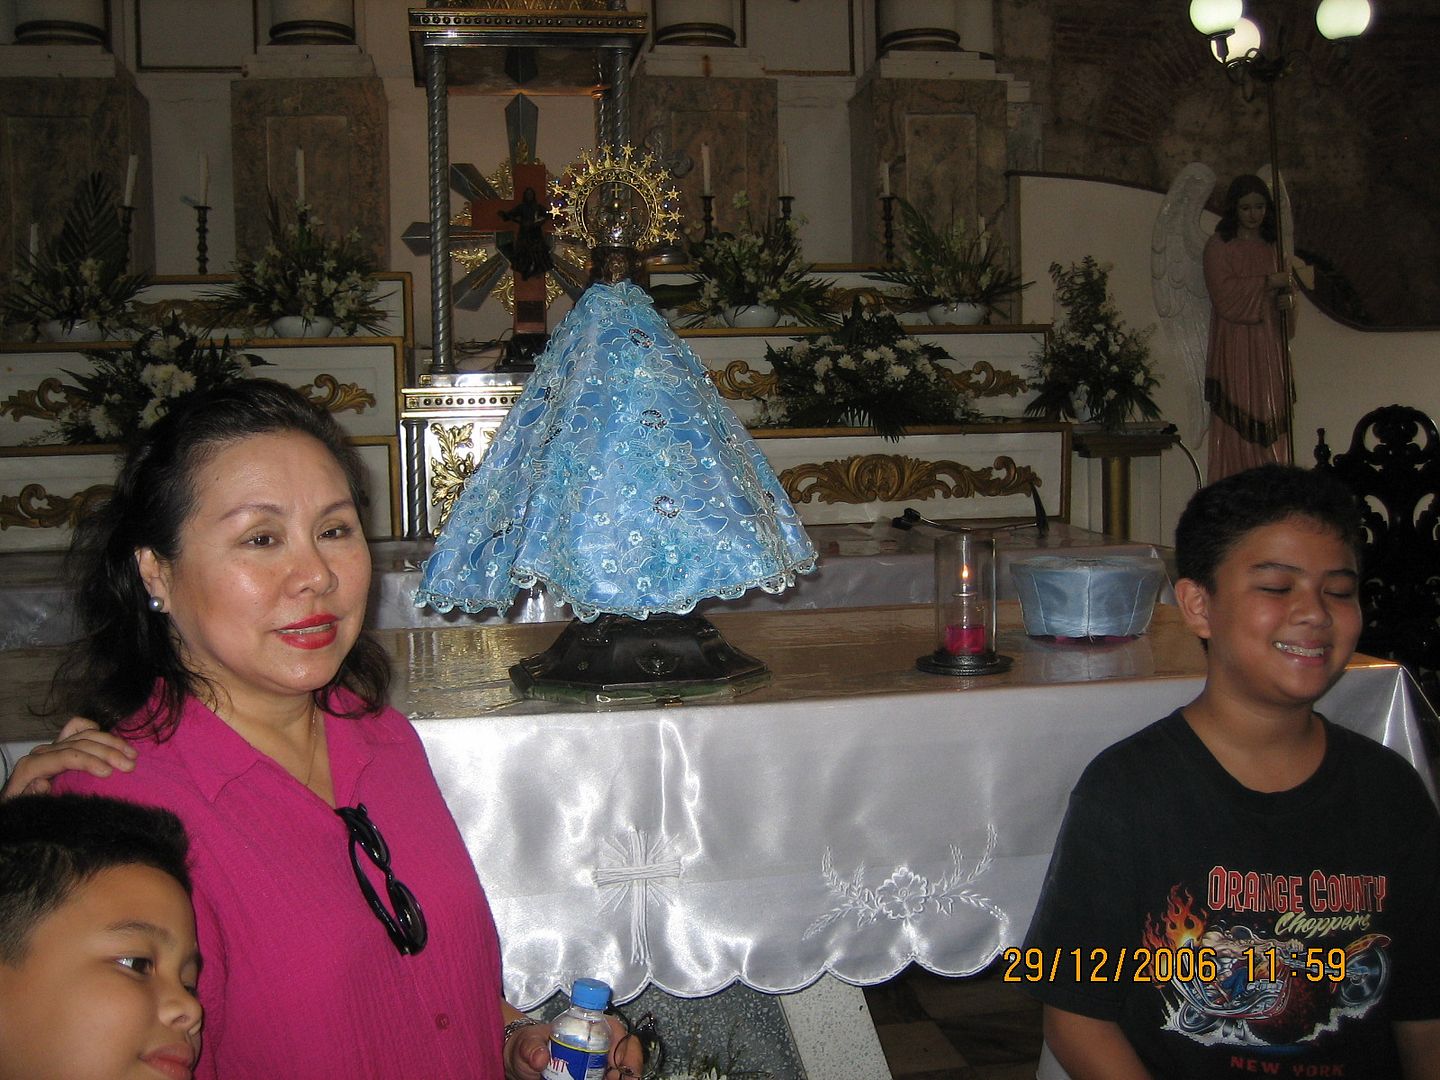
which, upon request, is taken out of safekeeping in the sacristy off one side of the altar, and placed on the altar table. (The image up in the central niche of the altar retablo is a replica.)

Stepping outside for a change of scenery, the facade of the adjoining convento can be seen from near the entrance of the Shrine,
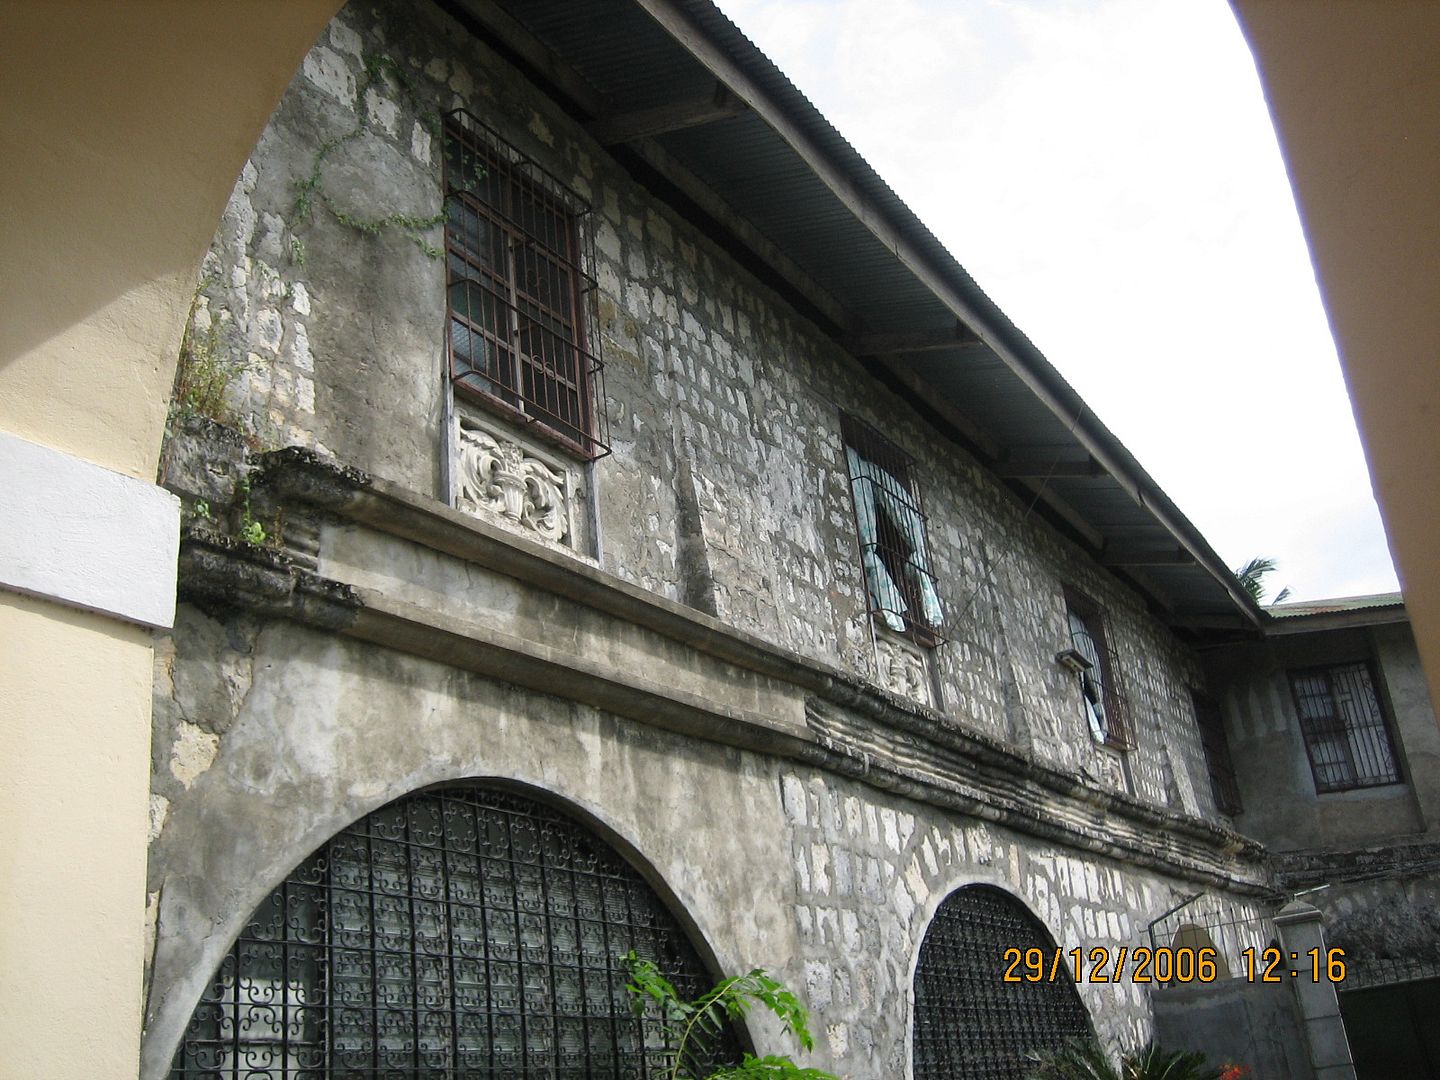
and if one makes his way towards the rear of the church,

the design and construction of the main structure can be examined further,

and the unplastered masonry and Romanesque arches noted.

The back of the shrine leads to a long series of stone steps that enables one to go uphill back to the Taal town center. Actually, the steps must have originally been built to enable the residents of the town proper to more directly access the shrine downhill by foot.
Not being particularly enamored of walking and climbing on this warm and sunny day (having already done a fair amount of both in the last few hours – albeit indoors), I instead locate another object of pilgrimage – the Santa Lucia Wells, still part of the Caysasay Shrine Complex.
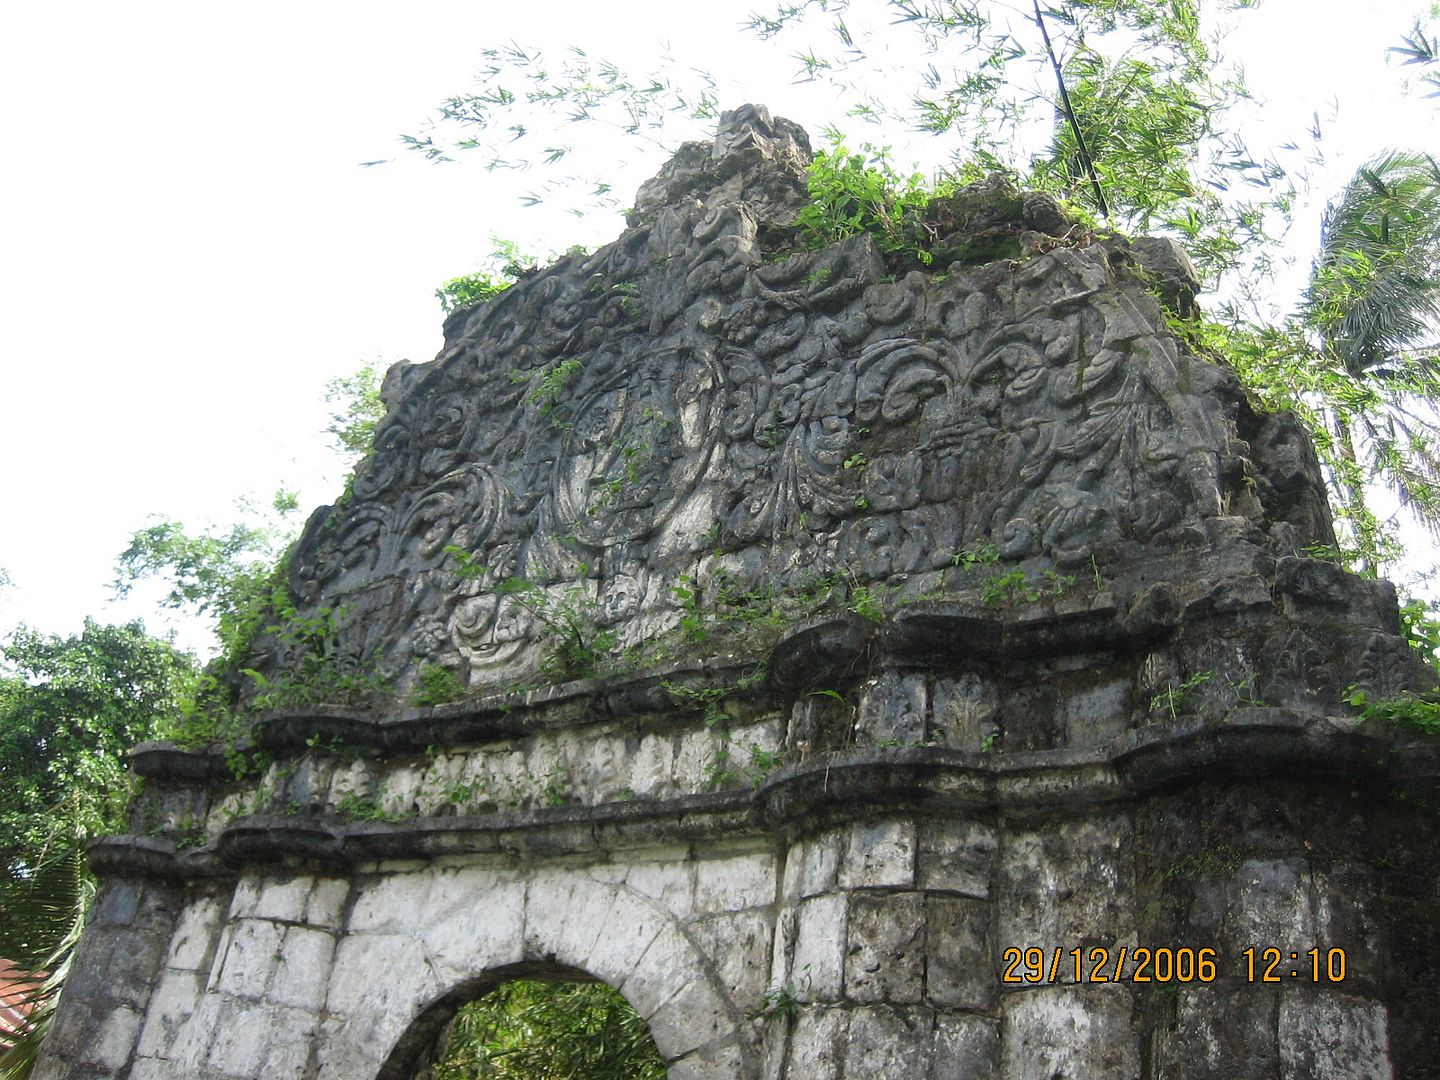
The background story here is that in 1611, or a few years after the image of Our Lady of Caysasay was found, two women saw the image reflected in a spring near the place where it was originally found. The water from the spring became the source of many cures, and the Augustinians, who had responsibility for the area at that time, caused the construction of an elaborately carved stone arch over the spring,
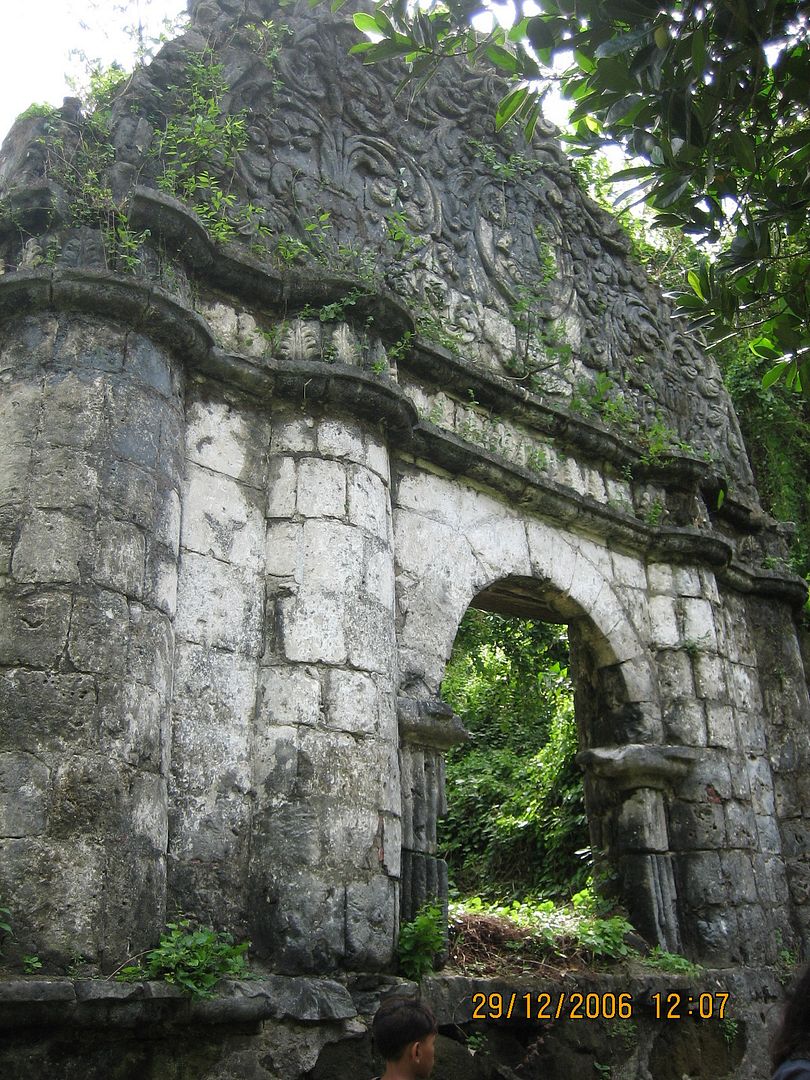

which then became known as the “Balon ng Santa Lucia” (the Well of Santa Lucia).
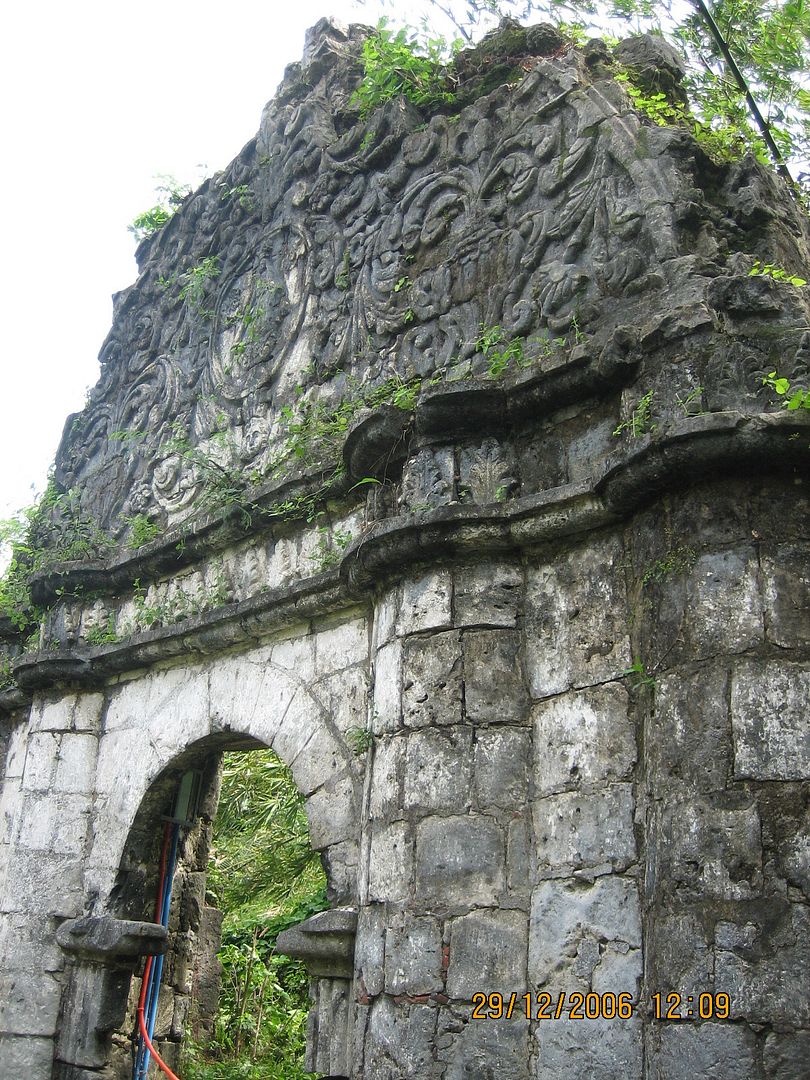
The image of the Virgin of Caysasay is rendered in low relief on the pediment.
The well itself is to be found inside and beneath two smaller arches on the lowest level of the stone arch structure.


When I was there, there did not appear to be much water in either orifice,
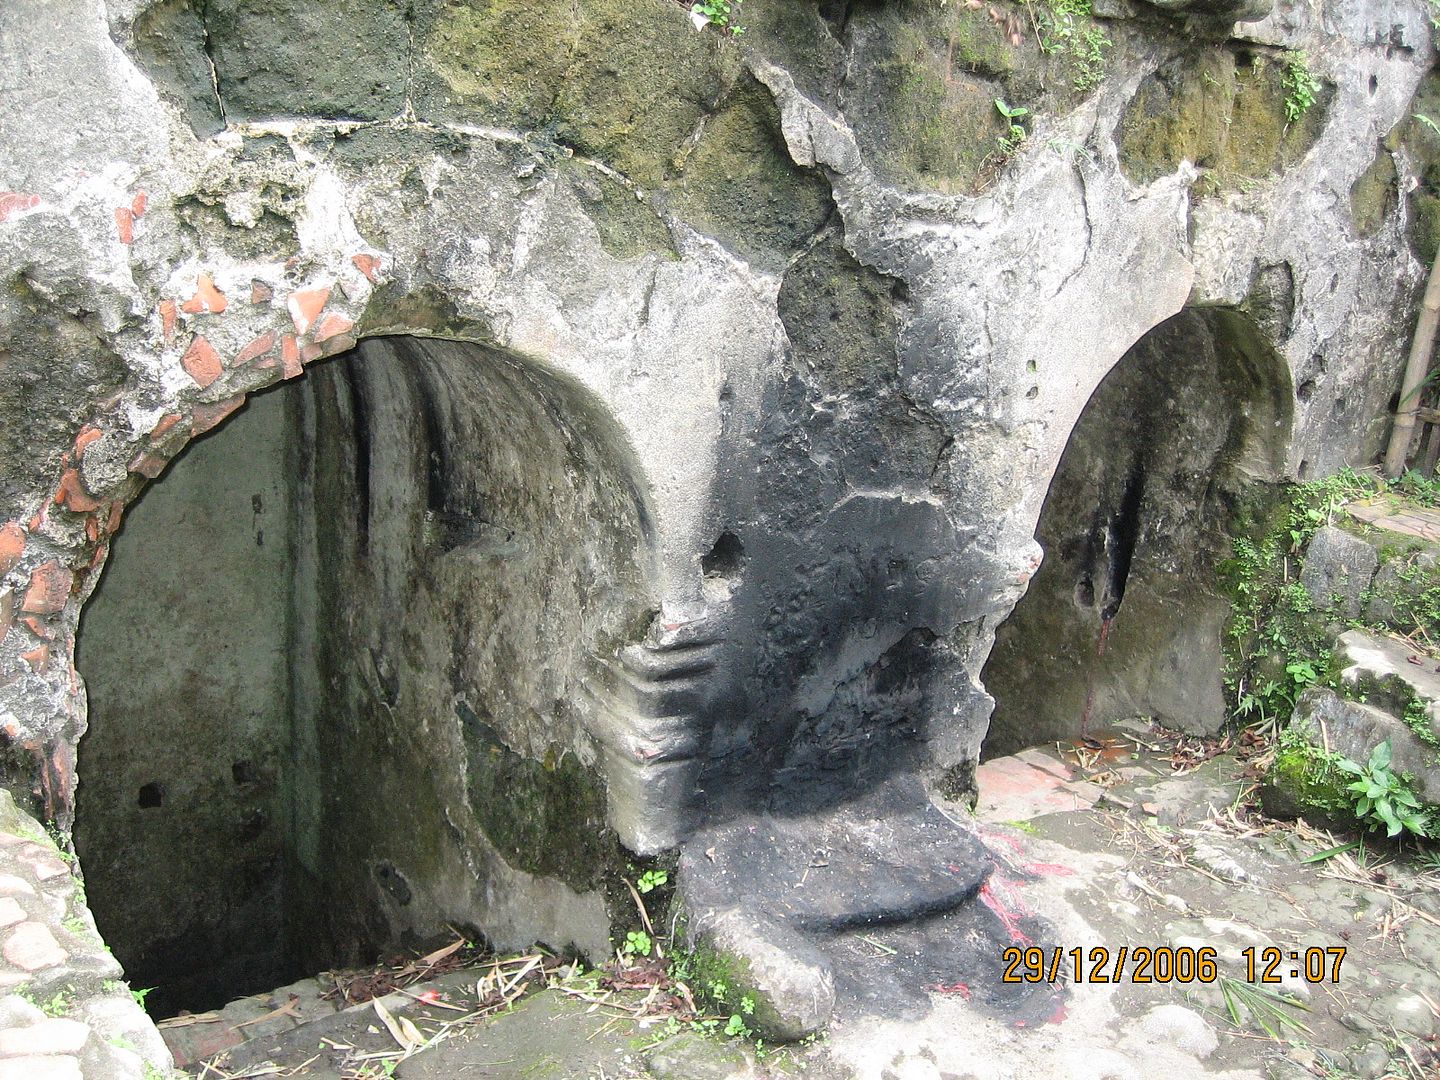
although the guide said that during the rainy season, presumably when underground water levels are higher, the spring water was more readily visible.

In fact, some water could be made out in the right-hand well opening, and we were invited to descend within and to partake of some such moisture.
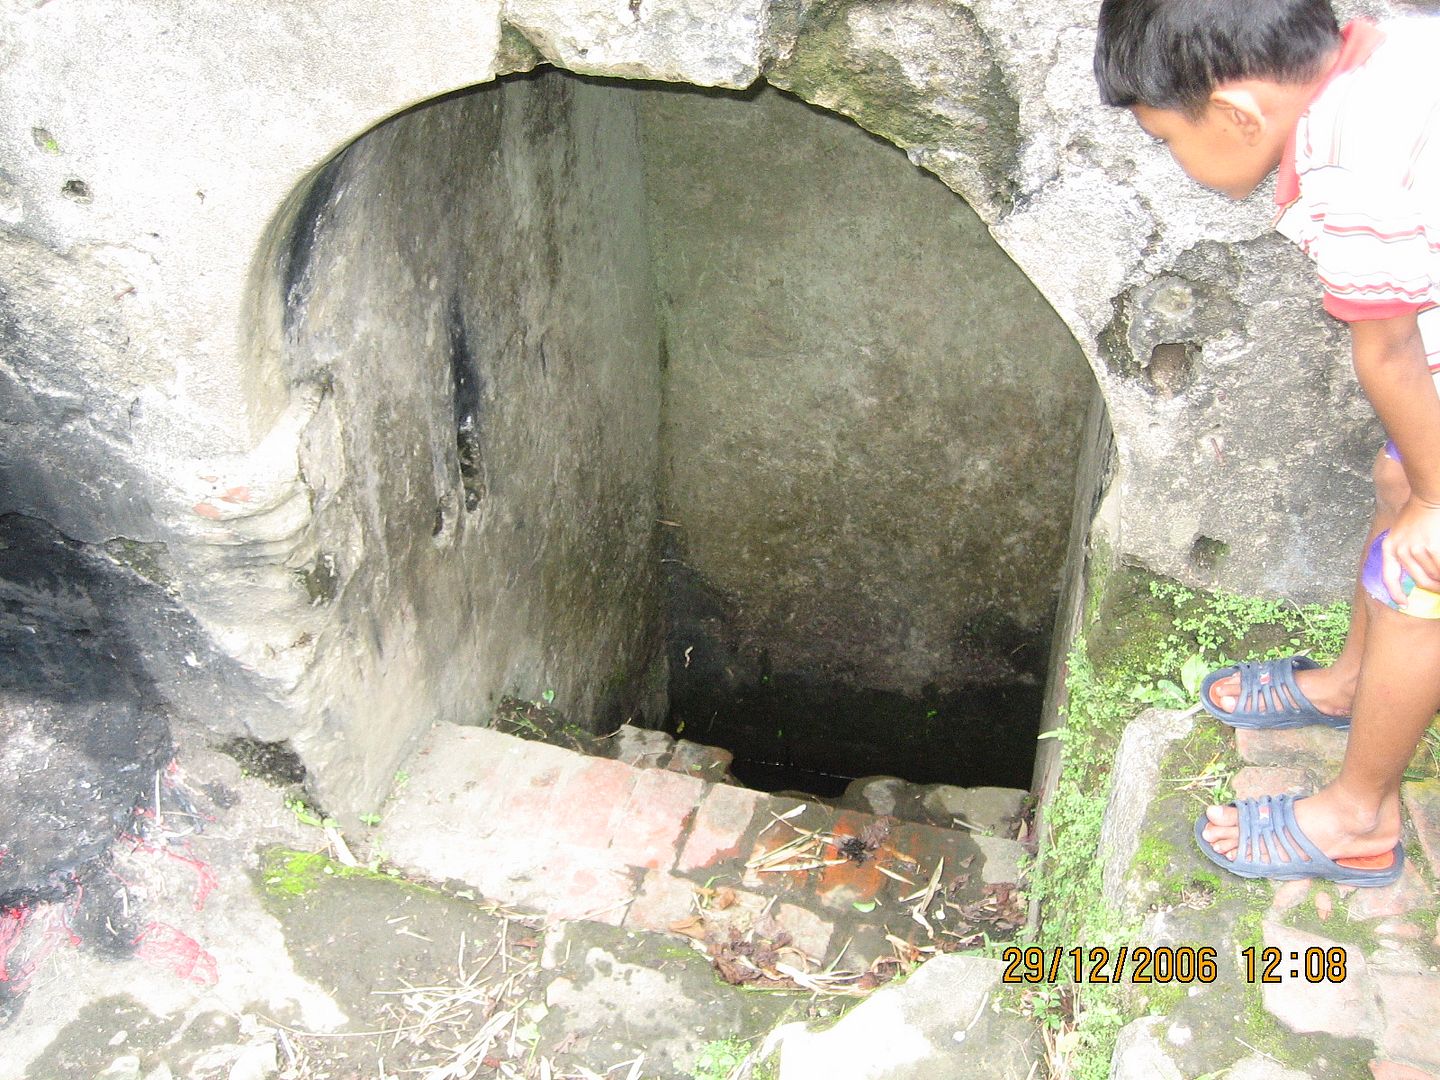
My faith being stronger than my resistance to germs, I thought it the more prudent response to decline and say a prayer instead.
And thus ended our day-visit to Taal, as it begun – on a religious and devotional note, and circumscribing an abundance of culture and history in this underrated heritage town just a couple of hours south of the Manila.
Originally published on 25 October 2009. All text and photos copyright ©2009 by Leo D Cloma. The moral right of Leo D Cloma to be identified as the author of this work has been asserted.
No comments:
Post a Comment